Stardew Valley Museum Donations: Every Reward Worth Chasing in 2026
Plan Stardew Valley museum donations and rewards: hit 95 slots, 50 minerals for Crystalarium, and 60 donations for the Rusty Key.
I still remember the first time I dropped a random chunk of ore on Gunther's counter and walked away with nothing but a polite nod. For way too long, I treated the Stardew Valley museum like a decorative storage bin. Big mistake. Donating is one of the cleanest progression tracks in the game, and in 2026—yes, even after the 1.6-era updates—the reward structure is still worth planning around. If an item's flavor text says 'Gunther can tell you more about this if you donate it to the museum,' you're looking at a donation candidate. Just don't donate everything the second you find it.
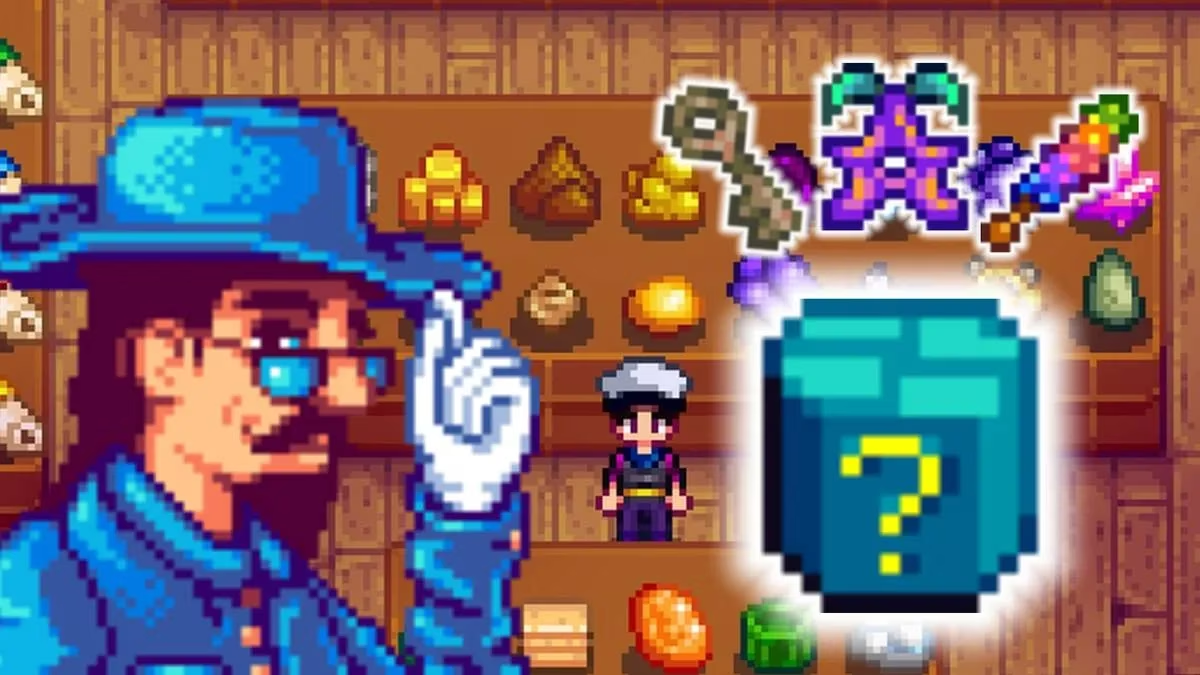
The Big Picture: 95 Slots, Three Reward Tracks
There are 95 total museum donations in Stardew Valley, and the rewards come from three separate tracks: total item count, mineral count, and artifact-specific donations. That last one is the messy one. The first two are much easier to plan around.
For total donations, you usually get something every five items until you hit 40. After that, the milestones spread out to every ten. Here are the checkpoints I actually track:
| Total donations | What I plan around |
|---|---|
| 5 | Cauliflower seeds |
| 10 | Melon seeds |
| 15 | Pumpkin seeds |
| 20 | Starfruit |
| 25 | Gold bars |
| 35 | Dwarf Gadget |
| 40 | Omni Geodes + 'Treasure Trove' achievement |
| 50 | Prismatic Shard |
| 60 | Rusty Key delivered to your doorstep the next day |
| 70 | Magic Rock Candy |
| 95 | Stardrop + 'A Complete Collection' achievement |
That 60-item milestone is the one I never miss. Gunther doesn't hand you the Rusty Key over the counter—he mails it to you the day after you hit 60 donations. That key opens the Sewer, which means Krobus, which means a whole new shop and a very useful friend. If you're wondering why your museum progress feels stuck, check your mail. 🏛️🔑
Minerals: My Favorite Reward Track
Minerals are the track I actually enjoy filling out. You get rewards based on how many minerals you've donated, not on which specific ones they are. That makes the whole thing predictable. The rewards are mostly decor until the end, and then you get the prize: the Crystalarium.
| Minerals donated | Reward |
|---|---|
| 5 | Geode |
| 10 | Omni Geode |
| 15 | Frozen Geode |
| 20 | Magma Geode |
| 25 | Fire Quartz |
| 30 | Earth Crystal |
| 35 | Frozen Tear |
| 40 | Nautilus Shell |
| 50 | Crystalarium |
The Crystalarium is the real reason I care. It replicates mined minerals forever, which means I can feed it Quartz and turn that into a pile of Quality Sprinklers, or feed it Diamonds and quietly print money. You only need 50 minerals donated to get it, which is a nice mercy. The museum-completion Stardrop, however, still needs the full 95-item set, so yes—that includes all 53 minerals eventually. 💎
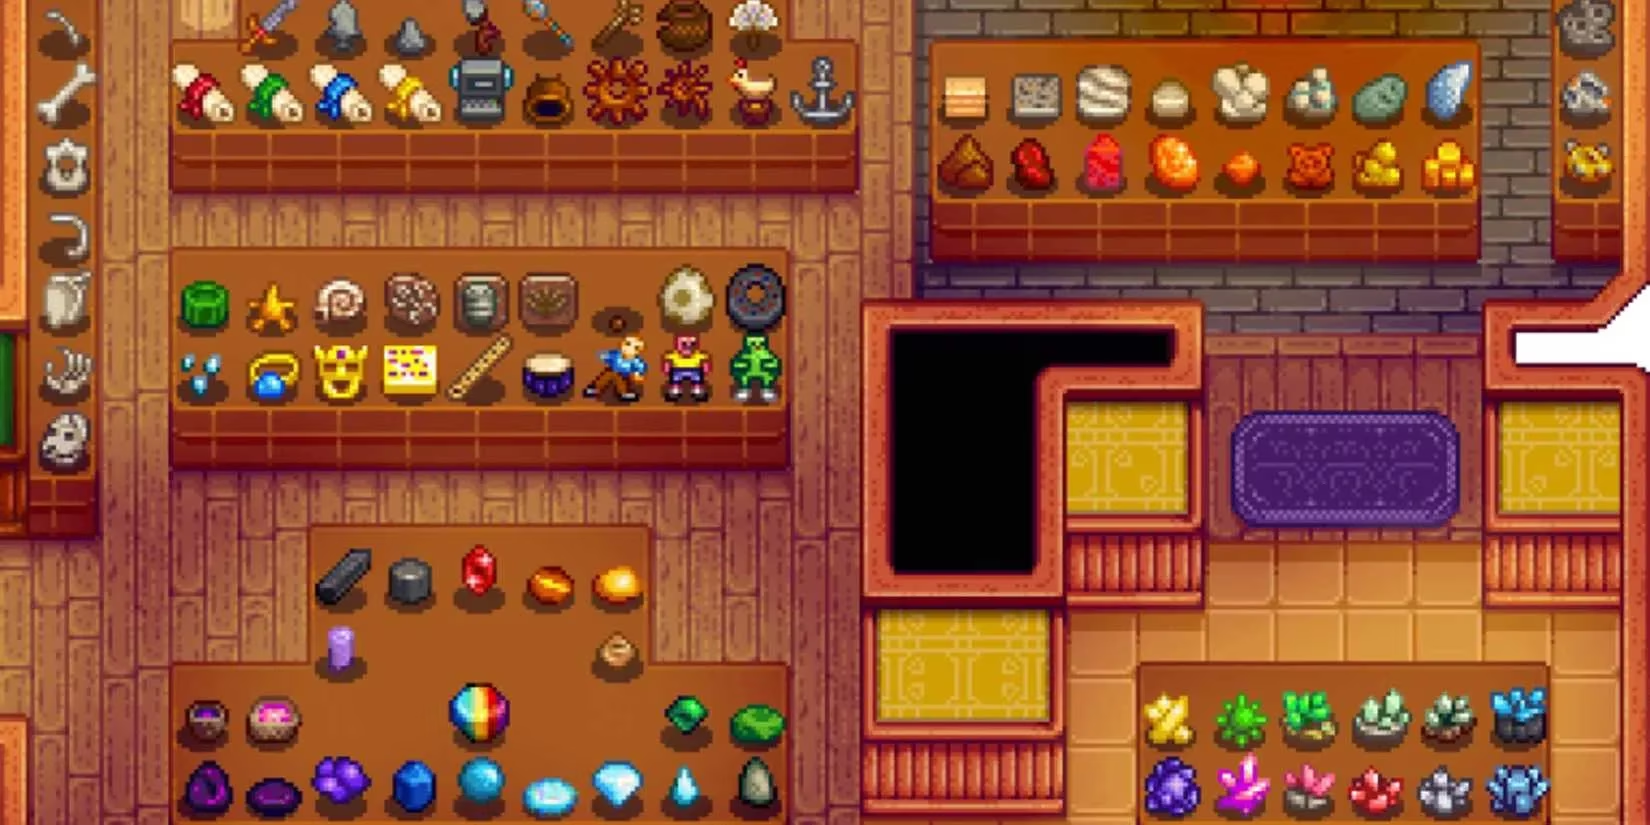
Artifacts: Chaotic, but Ancient Seed Matters
Artifact rewards are where the museum stops being polite. In general, you don't get rewards just for donating a certain number of artifacts. You get rewards for donating particular artifacts, and a few milestones mix in total count too. Because artifact finds are random—tied to where you dig, what you kill, and how lucky you feel—the rewards arrive irregularly. I've gone a full in-game year without an artifact reward and then gotten several in one day.
The one artifact reward I genuinely need is the Ancient Seed. Donate your first Ancient Seed and Gunther gives you the Ancient Seed recipe plus a planted seed, which is the start of one of the most profitable crops in the game. That's a single-donation reward, so it's easy to get once you find one.
The other big one is the Dwarf Scroll set. Collect all four Dwarf Scrolls, donate them, and you get the Dwarvish Translation Guide. That lets you understand the Dwarves in the Mines and Volcano Dungeon, shop with them, and read a certain gravestone outside the Mayor's Manor that hints toward the Galaxy Sword. Not bad for four little scrolls.
Lost Books are different. The museum doesn't hand you an item for collecting them. The reward is the knowledge inside each book—tutorials, hints, and secret pointers. I know that sounds like a bad deal, but some of those pages genuinely save you time. 📚
What I Never Donate Right Away
This is the part where I beg you to slow down. Not every first copy belongs in a display case.
-
Prismatic Shard — keep your first one. You need it for the Galaxy Sword, and donating it too early hurts.
-
Dinosaur Egg — keep your first one for the incubator. You want a dinosaur, not just a museum slot.
-
Diamond — I keep my first Diamond for gifting or quick cash. Duplicates can go to Gunther later.
I learned this the hard way with the Prismatic Shard. Don't be me. ⚠️
My 2026 Donation Routine
Here's what I do now: I keep a chest near the museum for donation candidates, I check the flavor text before donating anything, and I only donate duplicates once I'm sure I don't need the item for crafting, gifting, or a quest. When I hit 60 donations, I check my mail for the Rusty Key. When I hit 50 minerals, I grab the Crystalarium and start duplicating something useful.
The museum isn't the flashiest progression system in Stardew Valley, but it's one of the most reliable. The rewards range from decorative to game-changing, and a few of them—the Rusty Key, the Crystalarium, the Ancient Seed recipe, and the Stardrop—are absolutely worth chasing. So donate generously, but double-check your inventory first. Gunther can wait. Your Galaxy Sword can't. 🌱
Leave a Comment
0 Comments